Erreur de format d'e-mail
emailCannotEmpty
emailDoesExist
pwdLetterLimtTip
inconsistentPwd
pwdLetterLimtTip
inconsistentPwd


How to Use an Oral Irrigator: A Step-by-Step Guide for Effective Oral Hygiene
Maintaining optimal oral hygiene is crucial for a healthy smile. While brushing and flossing are essential, adding an oral irrigator to your routine can provide additional benefits. In this blog, we will guide you through the proper usage of an oral irrigator, exploring its advantages and sharing expert tips to help you achieve effective oral hygiene.
1. The Benefits of an Oral Irrigator:
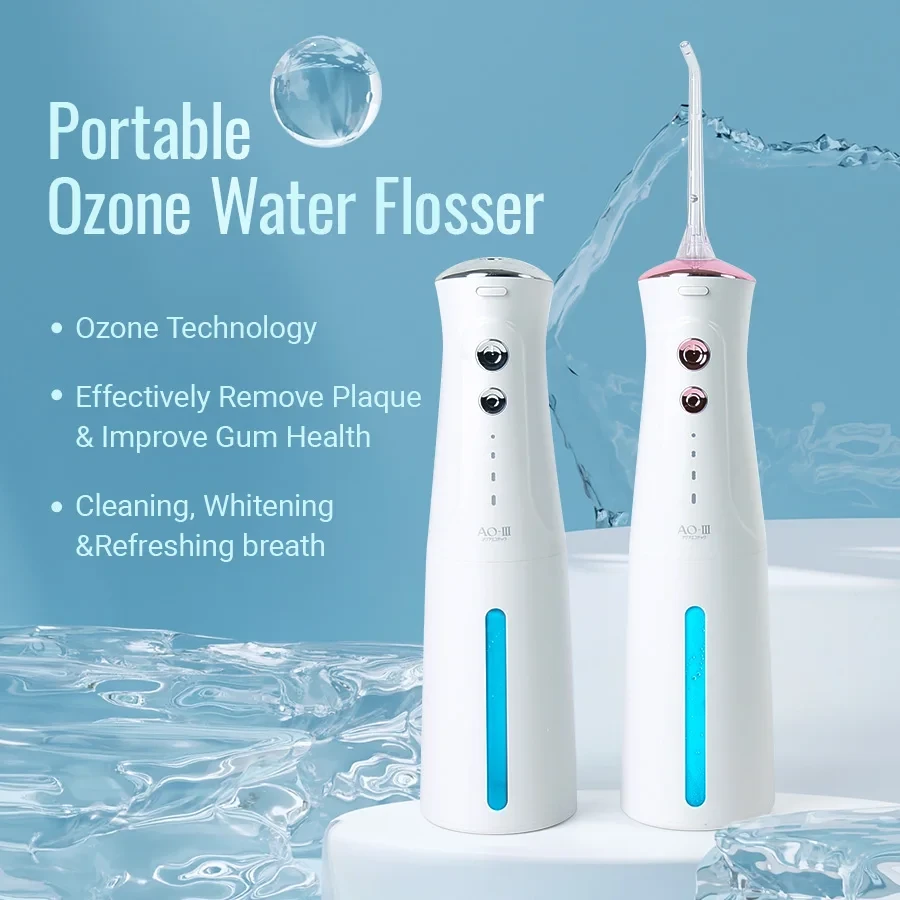
Oral irrigators, also known as water flossers, are devices that use a stream of water to remove plaque, food particles, and bacteria from the mouth. They offer several advantages over traditional flossing, including enhanced convenience, greater reach in hard-to-access areas, and reduced gum sensitivity.
2. Step-by-Step Instructions for Proper Oral Irrigator Usage:
Step 1: Fill the Reservoir:
Start by filling the reservoir of your oral irrigator with lukewarm water. Some models may allow you to add mouthwash or antibacterial solutions like ozone water for additional cleansing.
Step 2: Adjust the Pressure:
Most oral irrigators offer adjustable pressure settings. Begin with a lower pressure setting and gradually increase it until you find a comfortable level.
Step 3: Position the Tip:
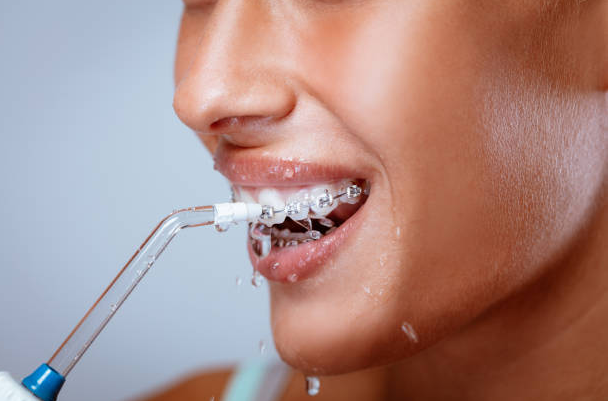
Choose the appropriate tip for your needs, such as a standard jet tip or a specialized tip for orthodontic braces or implants. Attach the selected tip to the handle of the oral irrigator.
Step 4: Lean Over the Sink:
Lean over the sink to prevent water from splashing. This will allow you to easily spit out any excess water or debris during the process.
Step 5: Direct the Tip:
Place the tip of the oral irrigator inside your mouth, aiming at the gum line and the spaces between your teeth. Hold the device at a 90-degree angle to your gums.
Step 6: Start Irrigating:
Turn on the oral irrigator and move the tip along the gum line, pausing briefly between each tooth. Allow the water to flow into your mouth and spit it out into the sink as needed.
Step 7: Clean Each Quadrant:
Divide your mouth into four quadrants (upper right, upper left, lower right, and lower left). Spend about 30 seconds irrigating each quadrant to ensure thorough cleaning.
3. Tips and Tricks for Maximizing the Effectiveness of Your Oral Irrigator:
- Follow a consistent oral hygiene routine by using an oral irrigator at least once a day, preferably after brushing.
- Experiment with different pressure settings to find the one that feels comfortable and effective for your gums and teeth.
- Consider using mouthwash or antibacterial solutions in the reservoir for an extra boost in oral hygiene.
- Replace the tip of your oral irrigator every three to six months or sooner if it shows signs of wear.
- Combine the use of an oral irrigator with regular brushing, flossing, and professional dental cleanings for optimal oral health.
Conclusion:
By incorporating an oral irrigator into your oral care routine, you can enhance your dental health and achieve a cleaner, healthier smile. Follow the step-by-step instructions provided in this guide to ensure proper usage of the oral irrigator. By maximizing the benefits of this device, you can effectively remove plaque, bacteria, and food particles from your teeth and gums, ultimately leading to improved oral hygiene and overall well-being.


